
Smart Home Matters
Jan 10, 2023 • 4
min read
Smart Home Matters
Jan 10, 2023 • 4
min read
Home Assistant is an open-source home automation platform that allows you to control and automate various devices in your home. One of the most popular ways to run Home Assistant is on a Raspberry Pi, a low-cost and low-power device that you easily configure to run the software. In this series of posts, we will go through the following:
To get started, we need to set up Home Assistant on a Raspberry Pi. You can always check for more up-to-date instructions over on the Home Assistant Installation guide, but essentially you will need the following items:
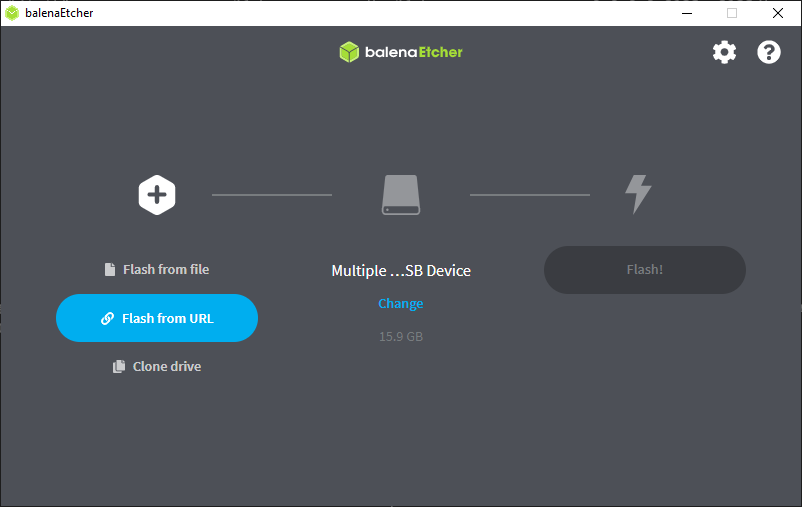
Once you have these items, you must install Home Assistant on the Pi. There are various ways of running Home Assistant on a Pi, but for this series, we will be running the Home Assistant Operating System. To flash the operating system on the Pi, we use balenaEtcher (a handy tool to flash OS images to SD cards and USB drives).
https://github.com/home-assistant/operating-system/releases/download/9.4/haos_rpi3-64-9.4.img.xz

Depending on your network and browser configuration, you might have to access Home Assistant by specifying the IP http://#.#.#.#:8123 (replace #.#.#.# withour Pi’s IP Address)
After setting up Home Assistant, the next step is configuring it. Configuration involves adding your various devices and services to Home Assistant so that you can control and automate them. Configuring Home Assistant is quite involved, and we will discuss it in the next post. For now, poke around and get a feel for it, as this is where you will spend most of your spare/free/waking time in the next couple hours/days/months/years 😈
One of the best resources is the Home Assistant documentation, which provides a wealth of information on how to set up and configure different devices and services.
Setting up Home Assistant on a Raspberry Pi can initially seem daunting. Still, with a bit of patience and help from online resources, you can have your home automation up and running in no time. The end result is a powerful and flexible platform that allows you to control and automate various devices in your home, giving you more control and convenience than ever before.
❗ Please note: To actually use and benefit from the full capabilities of Home Assistant, you need to have compatible and integrated devices.
Best of luck with setting up your Home Assistant!